
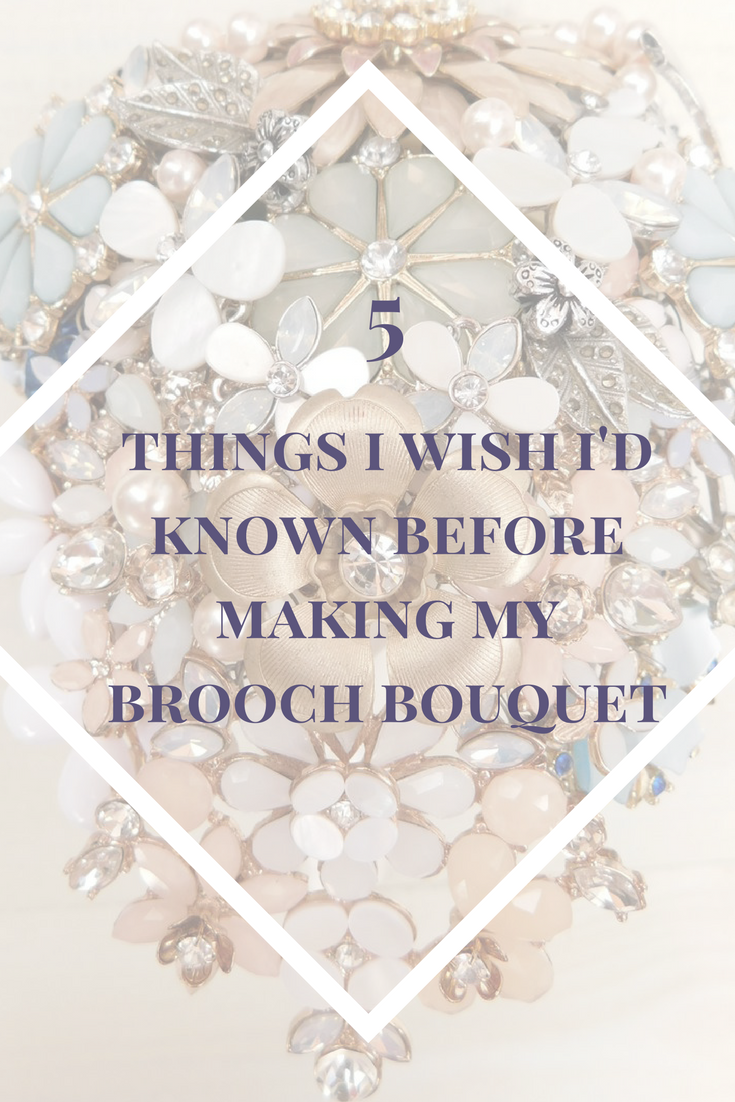
5 things I wish I'd known before making my brooch bouquet
Creating your own brooch bouquet can be a lovely project for your wedding and these days, there are so many options for brides who have decided to design their own. You can find tutorials online, order kits or take a workshop but one thing is for sure; your bouquet will make you smile for years to come because you made it yourself.
I created brooch bouquets for myself and my bridesmaids and, while I loved my bouquet for its sentimental details, I had little experience then. I've designed a fair few over the years and have picked up new techniques as a result, so I thought I'd share with you a few things that I've learned to help you create your own.
1. You don't need to use a floral foam
When I made my bouquet, the most comprehensive tutorial I found used a dry foam Oasis bouquet holder. As a result, I used these in my earlier days with great results as they gave the shapes that I wanted and I only needed short wires to pin my brooches in place.
The downside though is that brooches can fall out if you don't have the wires long enough and you often find yourself filling tiny gaps to cover the foam, which ends up being a bit of a faff as the brooches all move around.
So the other options? You could use a bouquet armature, which is essentially a metal frame for your bouquet, which will give you that nice, rounded shape, or you could wire up your brooches individually, so they all have "stems" and arrange them as you would flowers.
I started to do the latter as my brides tend to opt for a teardrop or oval shaped bouquet. The bonus of wiring up your brooches with long stems is that they are much more secure. In fact, I often work on a brooch at a time, analysing where it will fit and wiring it up as I go, securing it to other brooches nearby to give a more complete and solid piece.
If you're worried about getting the right shape, try choosing a central brooch in the shape that you want for your bouquet and then build around that. That way, you have a focal point and can use it as a guide as you develop your bouquet.
2. Choose quality over quantity
When I first started Elsa Rose Boutique, I needed to make some sample bouquets so people could see what I did. I gathered brooches from charity shops but I didn't have enough to make the bouquets I needed, so I opted for wholesale brooches from China.
Now, this is a great way of keeping costs down and I've seen many brooch bouquets made with such brooches (and many ebay sellers selling the brooches at a premium!). Quite honestly, if it's what you're looking for, then there's no harm in that.
My advice though, is to be selective. You're creating something beautiful for your wedding, an heirloom even, and you really do deserve the best. To get a beautiful brooch bouquet, my advice is to invest your money wisely and scour charity shops and car boot sales for vintage finds. The beauty of these pieces is the history behind them and it really adds a bit of magic to your finished bouquet.
A smaller bouquet, with carefully selected pieces, will look far more elegant than a huge bouquet filled with mass-produced brooches and will age well over time.
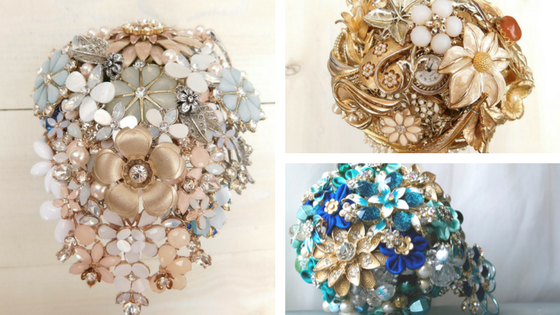
3. Sparkle sparingly
There is nothing wrong with a bit of sparkle, but if you're dreaming of an elegant DIY bouquet, use it sparingly as you'll be surprised how far a few sparkles go! You could balance crystals with pearls and maybe some silk rose petals to get a softer look. Silver brooches can often look harsher than gold too, so opt for brooches that have an antique finish to them or that are slightly tarnished to add to the vintage look of your bouquet.
4. Wrapping the handle is trickier than it looks...
I remember getting so frustrated with trying to wrap the handle of my brooch bouquet that I completely gave up and resorted to covering it with decoupage paper. With a couple of coats of varnish it didn't look like paper at all and I was quite proud of my crafty solution :)
You can get bouquet wraps that fit around handles of a floral foam, which will cause you far less stress, or you can have a go at wrapping it yourself with ribbon or fabric. I've learnt to start at the top and criss-cross the ribbon down, then criss-cross it back up. It takes a while to get it nice and smooth but it's worth it in the end so try to be patient when you're doing it! You could secure it in place with some pearl pins or a hot glue gun but I always put a few little stitches in to keep it secure; I never have much luck with glue guns and the last thing I want is for a bride's bouquet to unravel as she's walking down the aisle! You could always add some little crystal beads or pearls down the handle to finish it off too.

5. Bigger isn't always better
Your brooch bouquet is likely to be much smaller than a traditional floral bridal bouquet but it will still have the impact as it's so different to what people are used to seeing. The same goes for brooches; large brooches seem like a great idea when you need to fill space on a tight budget, but you're likely to find it harder to get them to sit together to create the overall look. Instead, opt for small to medium sized brooches and trust your instinct with shapes; I love leaf and feather brooches as they are so varied in style but give a cohesive look to a bouquet. You could do the same with all filigree brooches or try scouting out enamel flowers in lots of different colours. Most importantly, go with what you're drawn to as you'll find a way to work in anything that you really love.
Have you tried making your own brooch bouquet yet? If so, what struggles have you found so far?
And if you’d like someone to take the pressure off and make it for you, or help you create your own, let’s chat!